
What Is Floor Screeding: All You Need to Know
Posted on 20th November 2023 at 08:17
Is your home looking less than perfect because of uneven and cracked floors? Floor screeding is the answer! Let's explore the ins and outs of floor screeding, uncovering its secrets and benefits. This article will give you all the knowledge you need to enhance your skills, whether you're a homeowner or a contractor.
What Is Floor Screed?
Floor screeds are thin layers of cementitious material applied over a concrete or insulation base to create an even, smooth surface for flooring.
What are the benefits of screeding a floor?
A smooth, level surface: Smooth, level surfaces make any room look good.
Improved durability and insulation: In terms of durability, floor screeding ensures your flooring can handle heavy foot traffic, furniture moving, and everyday wear and tear. Another advantage of a screed floor is insulation.
Moisture resistance and noise reduction: Screeding protects your flooring from water damage, extending its life and reducing mould or mildew growth. The screed also absorbs impact sounds and reduces airborne noise transmission between floors and rooms.
Different Types of Screed
Unbonded screed
By applying an unbonded screed to a polythene/Damp-Proof Membrane (DPM), an impermeable barrier is created, preventing any moisture from reaching the screed. Because of this, unbonded screeds are great for areas with high humidity or where there's a risk of water penetration.
Partially bonded screed
Those looking to save money on their flooring project might like partially bonded screed. However, partially bonded screeds are usually less durable than fully bonded screeds.
Bonded screed
With maximum adhesion to the substrate, a bonded screed creates a stable, durable surface that can withstand heavy foot traffic. The concrete screed becomes tightly bonded to the underlying layer by using a bonding agent or slurry.
Liquid Screed
Liquid screeds can be laid in a matter of hours and are ready for foot traffic within 24-48 hours, unlike traditional cement and sand screeds.
Guide to Floor Screeding
Divide your floor into sections
Dividing your floor area allows for better planning and execution while ensuring quality flooring with minimal room for error.
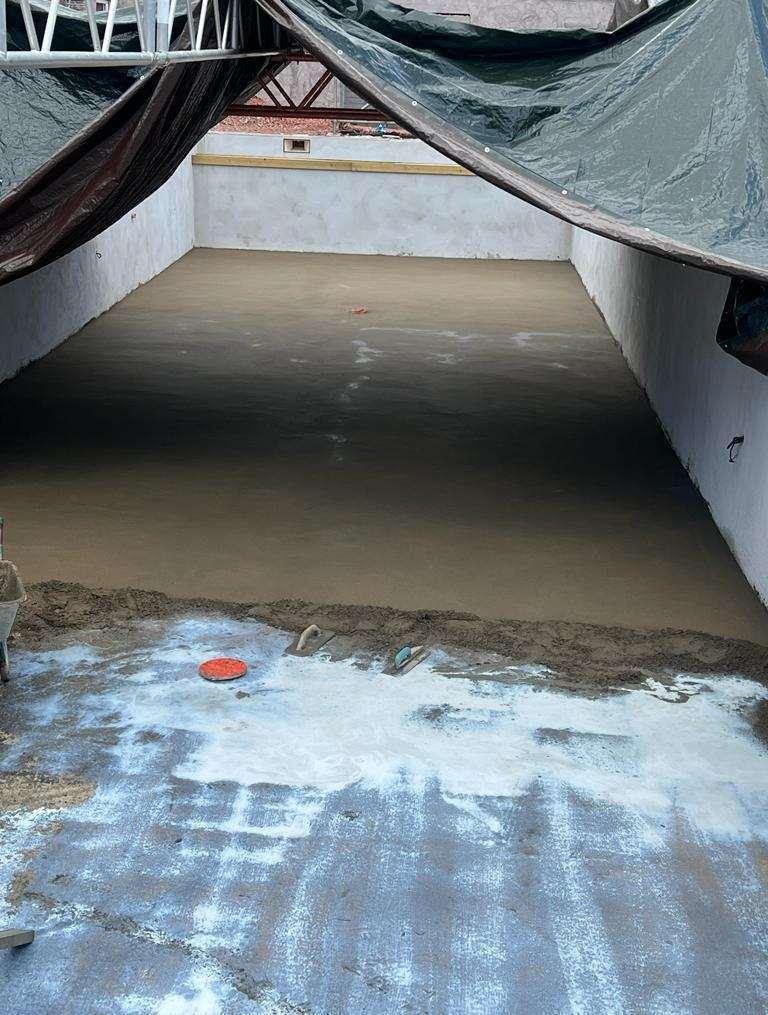
Apply screed
The subfloor needs to be prepped before screeding. Get rid of any debris, clean the surface thoroughly, and fix any cracks. Once the subfloor is ready, mix the floor screed material with water according to the manufacturer's instructions.
Floor levelling
Use a straight edge or trowel to spread the mixture evenly once you've prepared it. For an even distribution of the screed, work quickly but carefully. Don't add too much at once, as this can cause cracking.
Repeat the process
You need to keep consistency throughout the screeding process. Fill each section evenly, without any gaps or inconsistencies. Don't rush this step, as it will greatly affect the quality of your finished floor.
Float the screed
Once the screed layer is poured, float it right away to get rid of any flaws. Bull floating removes imperfections and consolidates the screed mixture. Bull floats displace excess water from the surface while packing down loose aggregates.
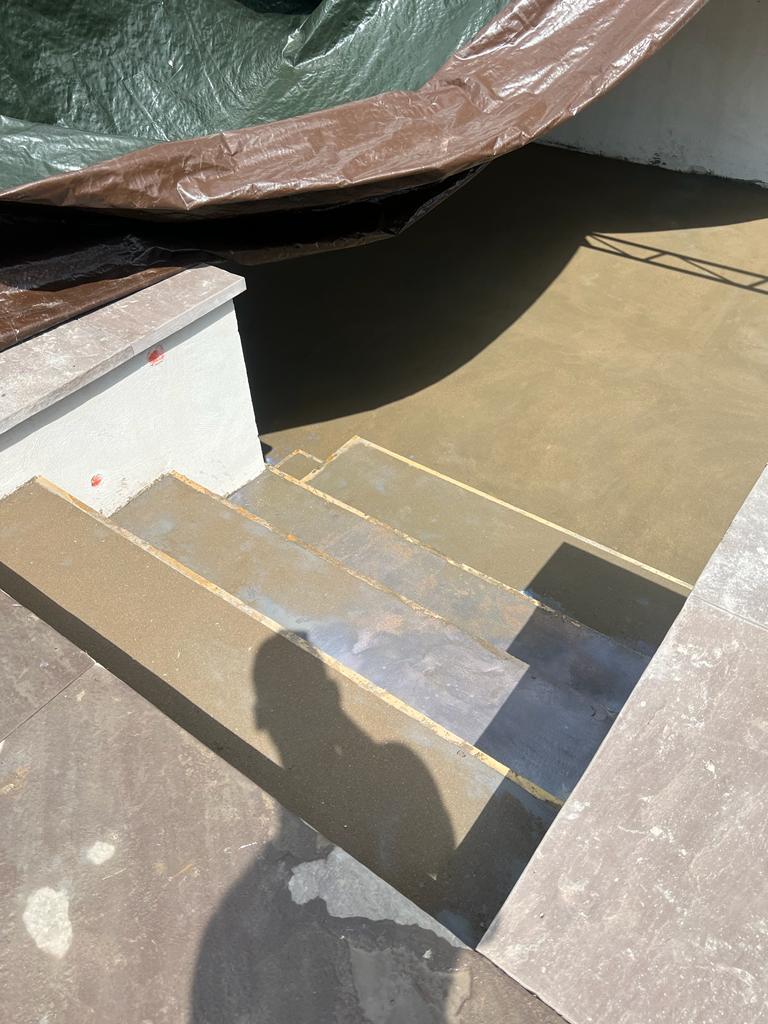
Time to cure
Allow the screed enough time to dry and cure after it's applied. Weather and humidity can play a role in how long it takes.
After the floor cures, let it dry. Drying the floor properly prevents cracks, warping, and buckling.
Elevate Your Spaces with Expert Floor Screeding
With the right experts by your side, you can achieve impeccable flooring. With a legacy of expertise and a commitment to excellence, The Rendering Company is your go-to source for rendering, external wall insulation, and screeding. Contact us today.
You may also like:
Share this post: